- Published on
PDF Generation in Python
- Authors

- Name
- Harold Ng

Handling dynamic PDF generation in Python
Motivation
Over the span of my career working in a company, and in my startup - the need to dynamically generate PDFs has always been there.
I have experimented with many different ways of generating PDFs: from rendering documents in HTML pages then using Selenium, to building forms in Libreoffice and injecting data and using a command to render it as PDFs.
So what is the best way to dynamically generate PDFs?
Approaches
Choosing the right solution comes after taking a step back and understanding your requirements - what is it you are looking to achieve?
Do you already have a page in your website that you just want users to be able to download it as a PDF? Just add a button to print the page as PDF.
Do you have dymanic elements that requires Javascript to render? use selenium to print as PDF and return the output to the user.
Or do you just want a way to reliably render a PDF from a predefined HTML template? If so, then this article is for you.
The architecture
What I found to be the cleanest way to dynamically generate PDF reports is by using a HTML templating engine like Jinja, rendering the HTML, then passing its output into another library that converts the HTML to PDF.
In this article, I will be using WeasyPrint. I found it to be the simplest and lightweight enough to be relatively fast.
Demo code
You may fork or clone the demo code here.
Prerequisites
Ensure that you have the following installed:
- An IDE of choice
- Python3
- Docker
Installing WeasyPrint
CAUTION
WeasyPrint will not work out of the box after installing it via pip. You will need to install OS-level libraries before attempting to run WeasyPrint.
WeasyPrint works on almost all major OS platforms like Windows, MacOS and Linux.
Setting up your python environment
- Navigate to your codebase.
- Start a python virtual environment
python -m venv venv. - Install the requirements
pip install -r requirements.txt
Jinja template
Look at the repository for the full code.
Start off with creating a Jinja2 template file to render your data.
Add a stylesheet at the top of the HTML file, or importing a CSS. To ensure that the PDF will be print-friendly, add a page selector and define its size and margins.
<style>
   @page {
      size: A4;
      margin: 2cm;
   }
</style>
Fields that are static in nature can be rendered as such:
<div class="info-section">
        <div class="client-info">
            <h3>Bill To:</h3>
            <p>
                <strong>{{ client.name }}</strong><br>
                {{ client.address }}<br>
                {{ client.city }} {{ client.postal }}
            </p>
        </div>

        <div class="invoice-details">
            <h3>Invoice Details:</h3>
            <table>
                <tr>
                    <td>Invoice #:</td>
                    <td>{{ invoice_number }}</td>
                </tr>
                <tr>
                    <td>Invoice Date:</td>
                    <td>{{ invoice_date }}</td>
                </tr>
                <tr>
                    <td>Payment Due:</td>
                    <td>{{ due_date }}</td>
                </tr>
            </table>
        </div>
    </div>
For fields that are to be rendered in a table format, you may use a for-loop.
You can even leverage python's string formatting to add two decimal points to your prices.
<table class="line-items">
   <thead>
      <tr>
            <th>Description</th>
            <th class="text-right">Quantity</th>
            <th class="text-right">Unit Price</th>
            <th class="text-right">Amount</th>
      </tr>
   </thead>
   <tbody>
      {% for item in line_items %}
      <tr>
            <td>{{ item.description }}</td>
            <td class="text-right">{{ item.quantity }}</td>
            <td class="text-right">${{ "%.2f"|format(item.unit_price) }}</td>
            <td class="text-right">${{ "%.2f"|format(item.quantity * item.unit_price) }}</td>
      </tr>
      {% endfor %}
   </tbody>
</table>
You may even take your form further by adding conditional logic, variables, filters using Jinja.
Read more from their documentation here.
Python logic
These blocks of code would likely sit behind a RESTful API, or executed via a batch job or by a queue.
Imagine this being the order data after querying your database:
invoice_data = {
    'invoice_number': 'INV-2025-001',
    'invoice_date': '16/Nov/2025',
    'due_date': '16/Dec/2025',
    'company': {
        'name': 'ACME Limited',
        'address': '123 Acme Road',
        'city': 'Singapore',
        'postal': '123456',
        'email': 'billing@acme.com'
    },
    'client': {
        'name': 'Enchant Pte Ltd',
        'address': '456 Enchanting Ave',
        'city': 'Singapore',
        'postal': '999000'
    },
    'line_items': [
        {
            'description': 'Brembo BBK',
            'quantity': 4,
            'unit_price': 500.00
        },
        {
            'description': 'Open pod air intake',
            'quantity': 1,
            'unit_price': 1200.00
        },
        {
            'description': 'HKS Exhaust System',
            'quantity': 1,
            'unit_price': 2000.00
        },
        {
            'description': 'Installation & Setup Service',
            'quantity': 1,
            'unit_price': 500.00
        }
    ],
    'notes': 'Payment is due within 30 days. Thank you for your business!',
    'tax_rate': 0.09
}

# Calculate totals
subtotal = sum(item['quantity'] * item['unit_price'] for item in invoice_data['line_items'])
tax_amount = subtotal * invoice_data['tax_rate']
total = subtotal + tax_amount

invoice_data['subtotal'] = subtotal
invoice_data['tax_amount'] = tax_amount
invoice_data['total'] = total
You can now load the Jinja template and render the form with the data.
# HTML template with CSS styling
env = Environment(loader=FileSystemLoader('templates'))
template = env.get_template('invoice.html')

# Render the template with data
html_content = template.render(**invoice_data)
The rendered data can then be exported into a PDF file, and stored into an S3 bucket or returned back as a response.
# Ensure output directory exists
Path("outputs").mkdir(parents=True, exist_ok=True)

# Generate PDF
HTML(string=html_content).write_pdf('outputs/invoice.pdf')

print("Invoice generated successfully")
If you don't fancy writing the PDF to your container's ephermeral storage or even writing to disk, use BytesIO to write to an in-memory binary stream. This can be helpful when using serverless or in the microservice architecture.
pdf_buffer = BytesIO()
HTML(string=html_content).write_pdf(pdf_buffer)
pdf_buffer.seek(0)

return send_file(
   pdf_buffer,
   mimetype='application/pdf',
   as_attachment=True,
   download_name='invoice.pdf'
)
Containerising it
If you are thinking of adopting WeasyPrint, you may want to consider containerisation to avoid having to manually install OS dependencies manually.
There seems to be a Docker image already present for WeasyPrint, but I have yet to try it.
However, building a Dockerfile from scratch isn't too difficult
# Use Python 3.11 slim image as base
FROM python:3.11-slim

# Set working directory
WORKDIR /app

# Install system dependencies required by WeasyPrint
# Based on official WeasyPrint documentation for Debian/Ubuntu
RUN apt-get update && apt-get install -y \
    # Required for WeasyPrint with wheel support
    libpango-1.0-0 \
    libpangoft2-1.0-0 \
    libharfbuzz-subset0 \
    # Additional dependencies for building from source (if needed)
    libjpeg-dev \
    libopenjp2-7-dev \
    libffi-dev \
    # Clean up to reduce image size
    && rm -rf /var/lib/apt/lists/*

# Copy requirements first for better caching
COPY requirements.txt .

# Install Python dependencies
RUN pip install --no-cache-dir -r requirements.txt

# Copy application files
COPY main.py .
COPY templates/ ./templates/

# Create output directory
RUN mkdir -p outputs

# Run the application
CMD ["python", "main.py"]
Or if you prefer using docker compose:
version: '3.8'

services:
  pdf-generator:
    build: .
    image: python-dynamic-pdf-generator
    container_name: pdf-generator
    volumes:
      - ./outputs:/app/outputs
      - ./templates:/app/templates:ro
    environment:
      - PYTHONUNBUFFERED=1
You can build and run the docker-compose: docker build -t pdf-generator .
Or, run the Dockerfile instead docker run -v $(pwd)/outputs:/app/outputs pdf-generator
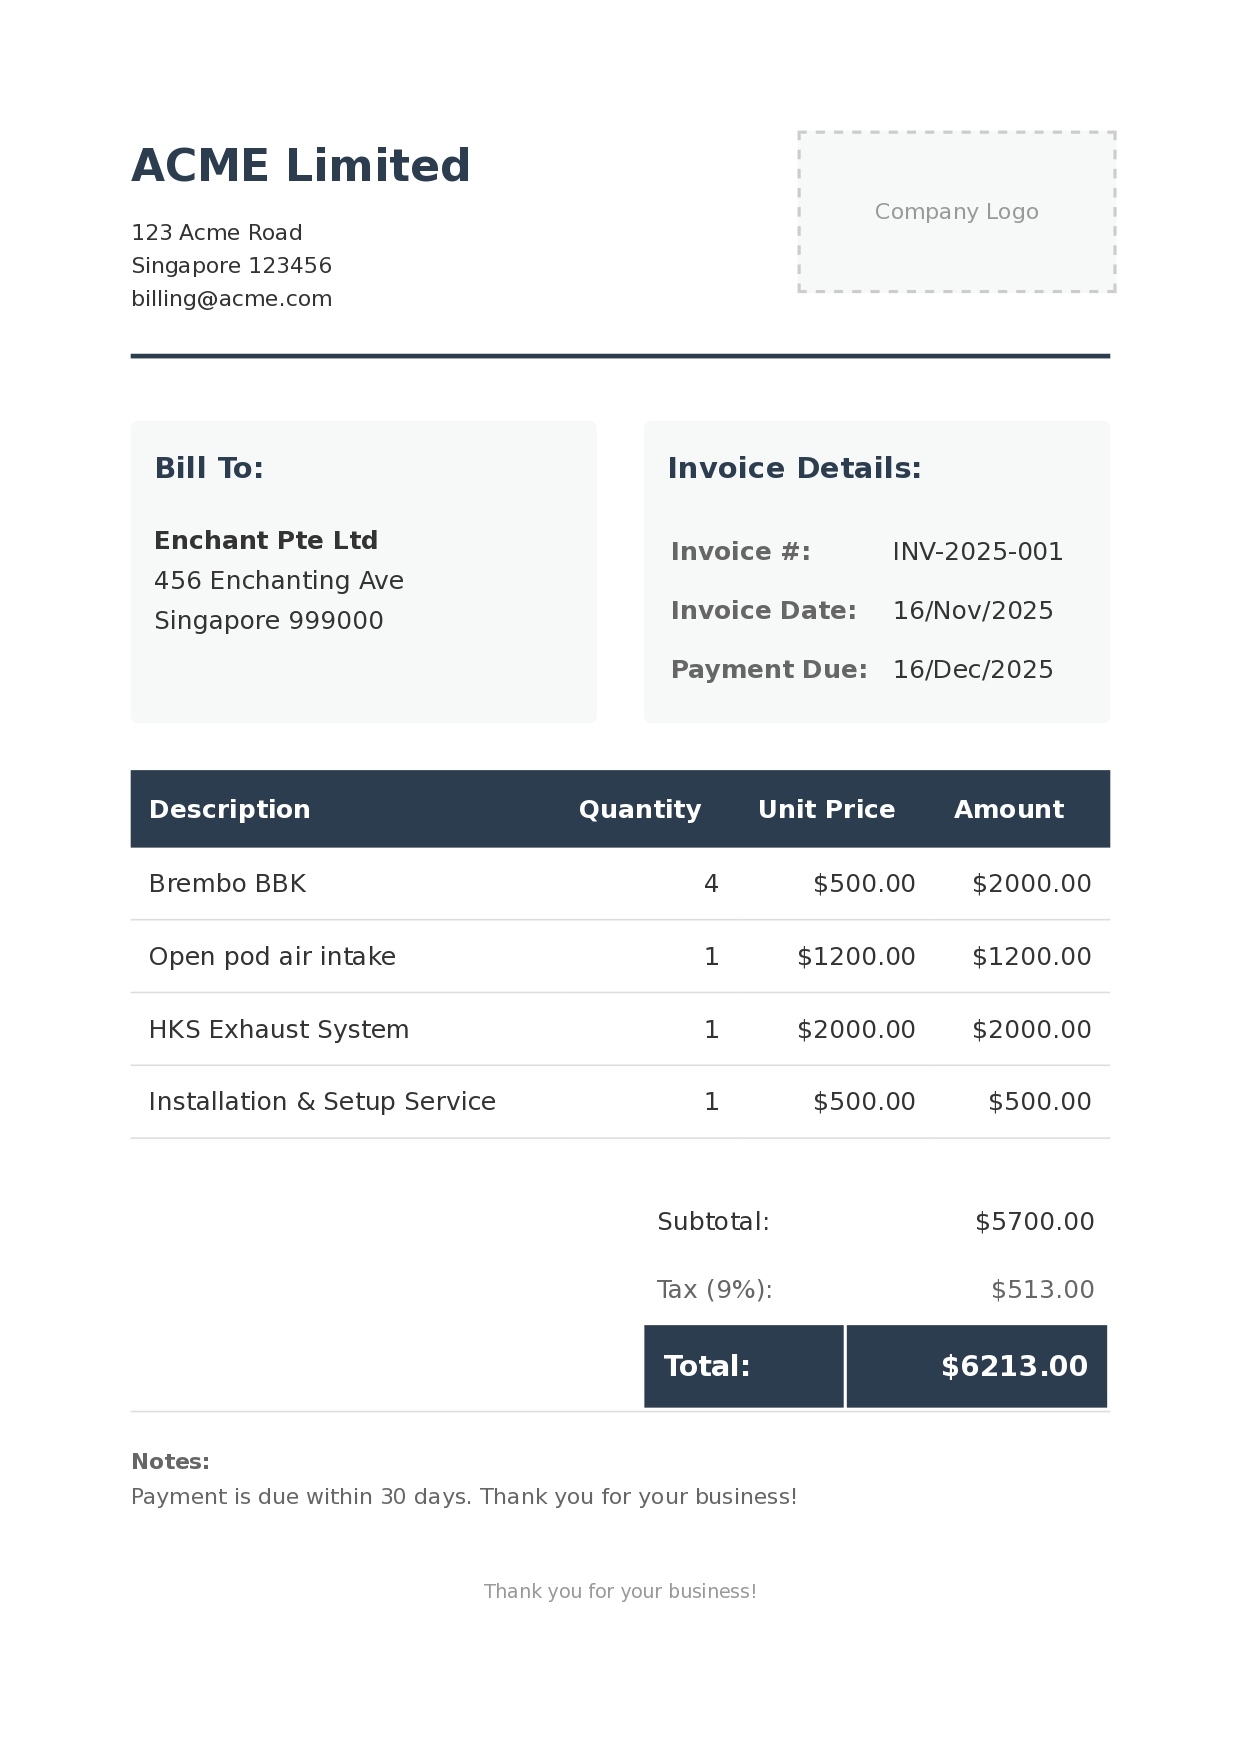
The final product
Extending it
The sky's the limit when using HTML template rendering when it comes to customisability. You can use HTML and CSS to adjust how you want the output to look like. However, using javascript may introduce other complexities, which invalidates this solution.
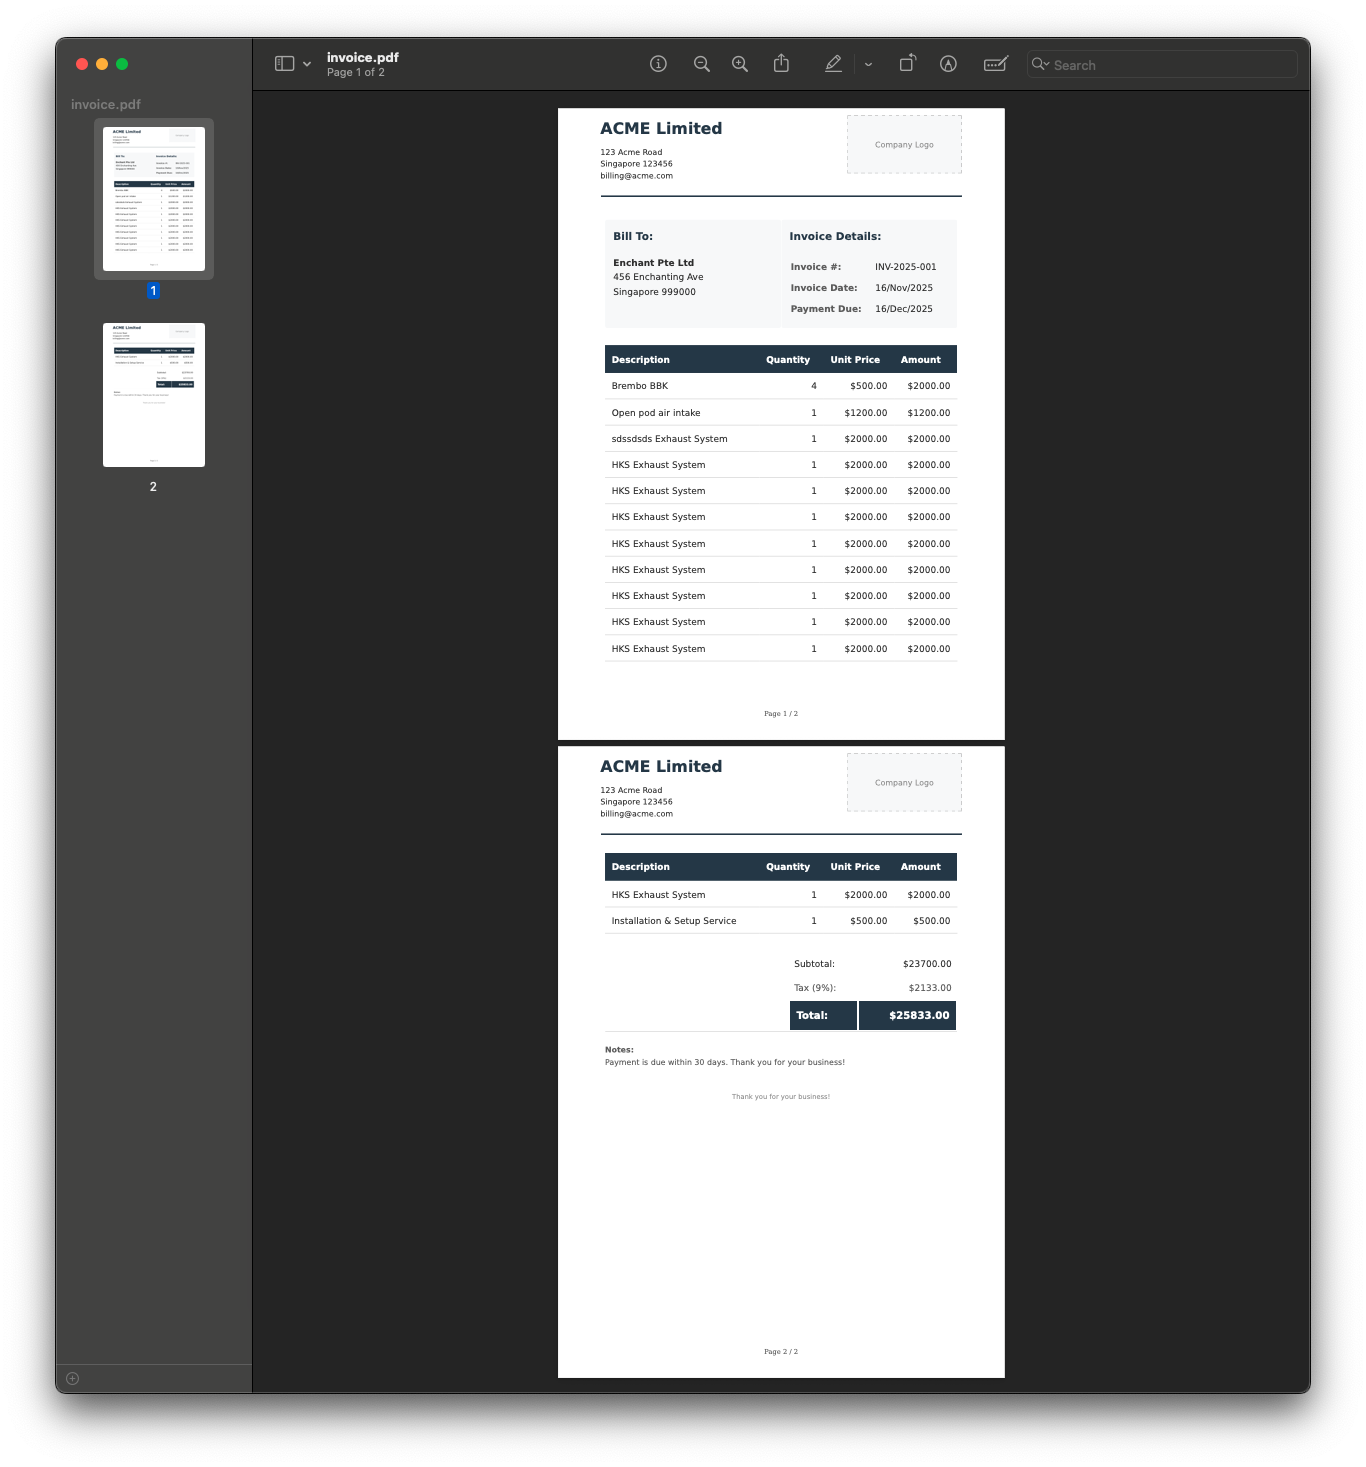
I've once had to make the PDF's letterhead repeat itself whenever the page breaks up into multiple pages, and also to add a footer to show the page number.
With some CSS magic, I managed to implement that. Modify the @page selector to add a @top-center and @bottom-center. This allows us to make a section such as the header and footer repeat on every page.
A new css class is added .page-header. A position selector is added with the property running(header). This allows us to reference the section later.
.page-header {
   position: running(header);
   border-bottom: 3px solid #2c3e50;
   padding-bottom: 20px;
   margin-bottom: 20px;
   display: flex;
   justify-content: space-between;
   align-items: flex-start;
   gap: 30px;
}
The @page selector is modified to give it more top and bottom margins. The @top-center allows us to repeat that section on every page.
Using CSS Paged media, an automatic CSS page counter can be implemented, which will show the current page and page count at the bottom of every page.
@page {
   size: A4;
   margin: 5cm 2cm 2.5cm 2cm;

   @top-center {
         content: element(header);
         width: 100%;
   }

   @bottom-center {
         content: "Page " counter(page) " / " counter(pages);
         font-size: 12px;
         color: #666;
   }
}
It will look something like that:
Final thoughts
There are many ways where PDFs can be dynamically generated. You should choose one that works best for your use case. I found this to be the simplest to implement, offering a good amount of flexibility in customisation and also having good performance.
Feel free to reach out to me for a chat if you need any assistance.
I hope you found this article helpful.
Credits
Header photo by Kelly Sikkema